Passa alle informazioni sul prodotto
1 su 4

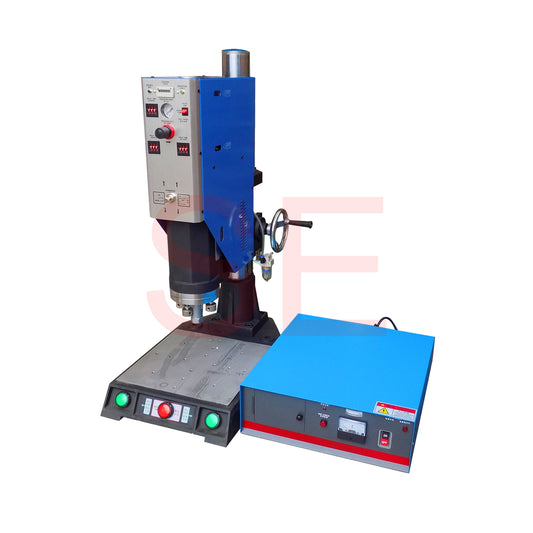
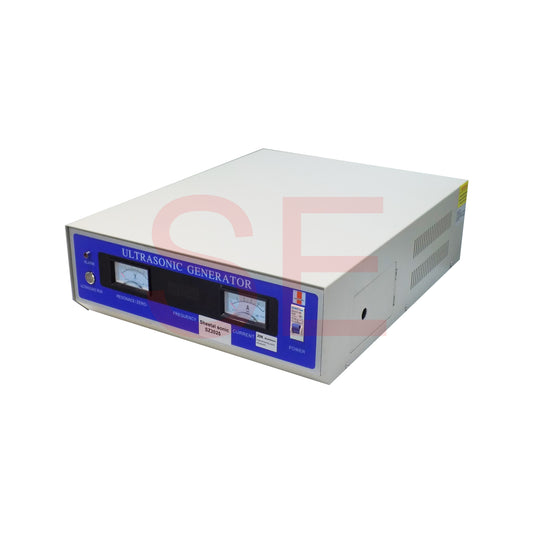
ULTRASONIC PLASTIC WELDING MACHINE FOR MOBILE CHARGER

ULTRASONIC PLASTIC WELDING MACHINE FOR MOBILE CHARGER

Prezzo di listino Rs. 165,000.00
Prezzo di listino Rs. 165,000.00 Prezzo scontato Rs. 165,000.00
In offerta Esaurito

Description

  • Specialized ultrasonic plastic welding machine designed specifically for mobile charger assembly.
  • Tailored to weld plastic components commonly found in mobile charger construction.
  • Utilizes ultrasonic technology to create strong, precise, and reliable welds for charger components.
  • Ensures the integrity and durability of welded joints, crucial for the safety and performance of mobile chargers.
  • Features a user-friendly interface for easy operation, optimizing production efficiency.
  • Customizable settings accommodate various charger designs, materials, and specifications.
  • Enhances production efficiency by streamlining the welding process and reducing manual labor.
  • Suitable for use in both small-scale and industrial mobile charger production facilities.
  • Provides a cost-effective solution for mobile charger manufacturing, improving production processes.
  • Your trusted partner for achieving high-quality and consistent welds in mobile charger assembly.

Technical Data

Model SE- 2018
Power 1800Watt
Frequency 20Khz
Voltage 200-240V/50-60Hz
Dimensions 540L*400W*1050H
Welding time  0.01-9.99S
Weight 101KG

    Advantages

    • Connect one end of the cable to the oscillation output control cable connector tube.
    • Connect the other end of the cable to the back of the box output control cable outlet and tighten it securely.
    • Wipe the welding head connection surface and connect it to the transducer oscillation tube.
    • Use a wrench to lock the connection securely.
    • Ensure that the connection between the welding head and the transducer aligns properly and lock it tightly. Avoid over-tightening to prevent damage.
    • When handling the welding head, use two wrenches to hold both the head and the transducer to avoid damage.
    • Check that all connections are properly installed, plug the power cord into an external power socket, and flip the power switch. Verify that the power indicator light turns on.